
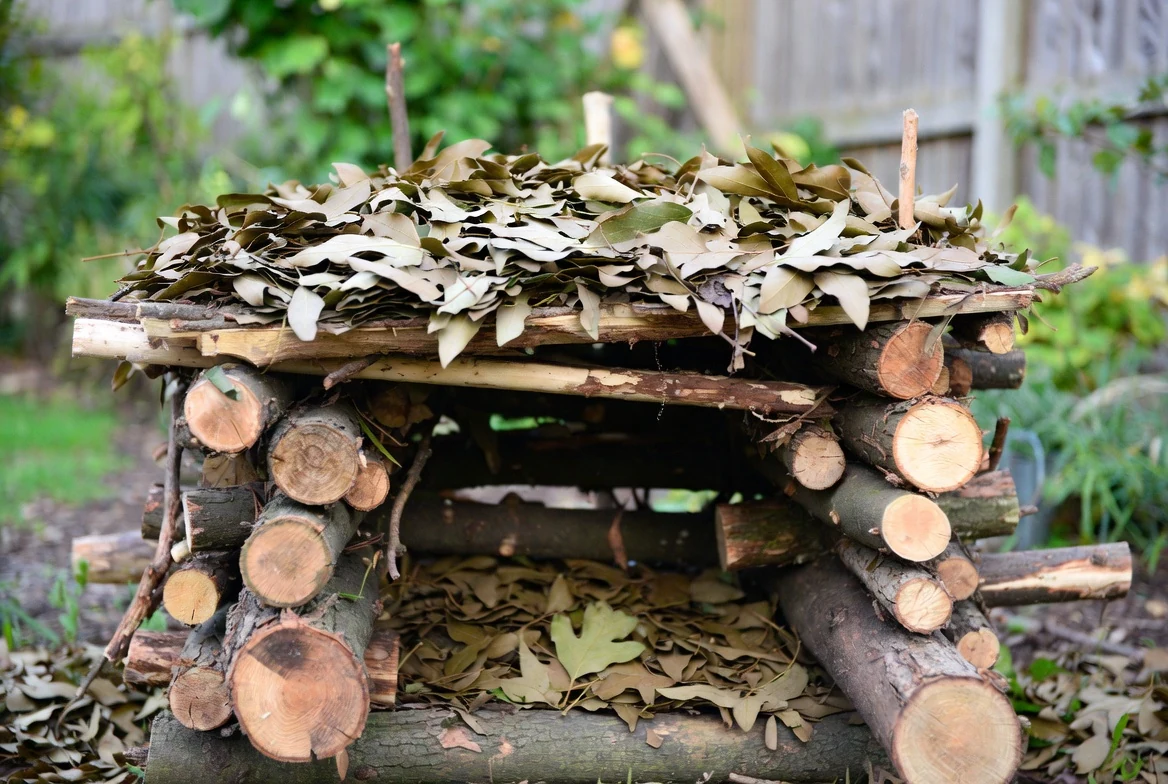
A finished log and leaf habitat built from stacked branches and leaf litter
Shelter

Build a log and leaf habitat

Turn cut branches, bark and fallen leaves into a cool, sheltered refuge for beetles, spiders, amphibians and more.

Why it matters

A good habitat pile is more than garden leftovers.

Different timber sizes, pockets of leaf litter and direct contact with the ground create moisture, darkness and slow decay. Many invertebrates, amphibians and overwintering insects depend on exactly that quiet mess.

What you need

Materials checklist.

  • A few thicker untreated logs or branch lengths
  • Smaller sticks, twigs and bark pieces
  • Dry leaves or leaf mould
  • Optional: a little soil or compost to settle the base
  • A shaded corner that can stay undisturbed
Common mistakes

Skip these traps.

  • Using treated timber, painted wood or glossy bark chips only
  • Building a tall, unstable stack near paths or play areas
  • Turning the pile every week to keep it tidy
  • Placing it in full sun where it dries out completely
Step by step

Make it happen.

01

Choose a shaded or semi-shaded corner

Pick a calm spot that will not need frequent access and can stay a little damp. Near shrubs, a fence line or the back of a border is often ideal because wildlife can move in and out under cover.
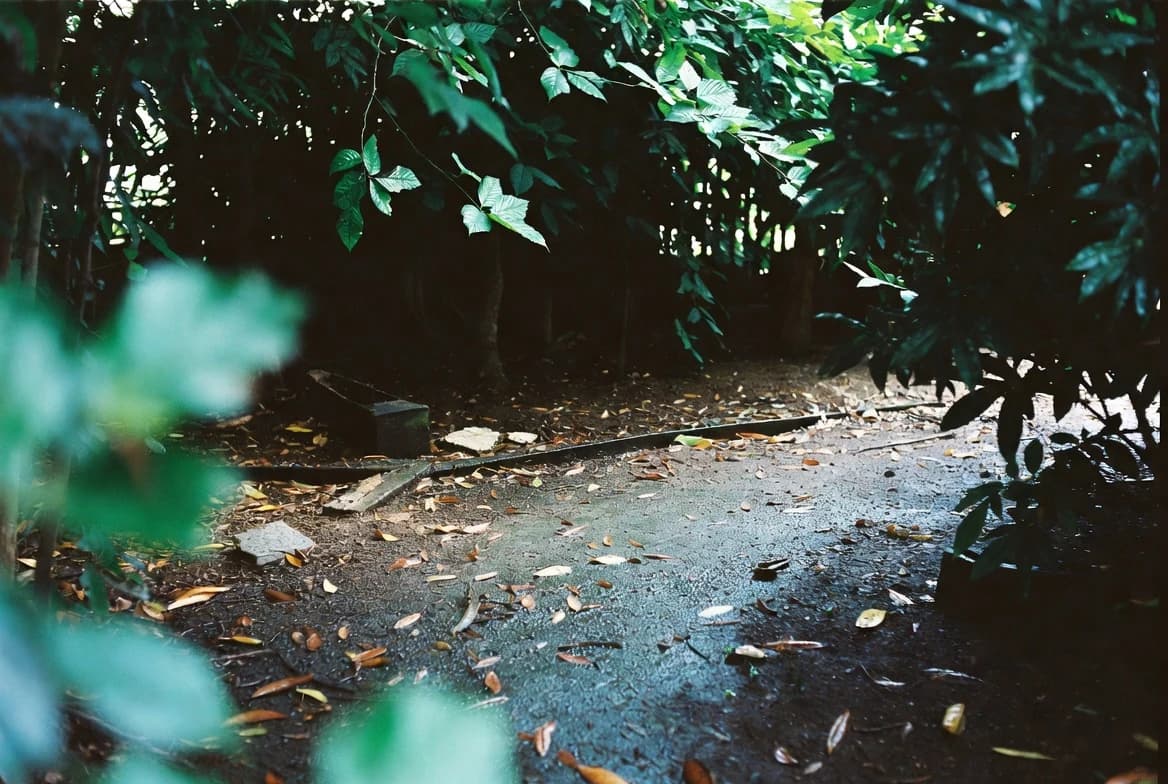
A shaded garden corner chosen for a wildlife habitat pile
02

Start with larger logs on the soil

Lay the thickest logs directly onto the ground so fungi, beetles and other decomposers can begin their work. Vary the spacing rather than making the stack too neat, because uneven gaps create more usable crevices.
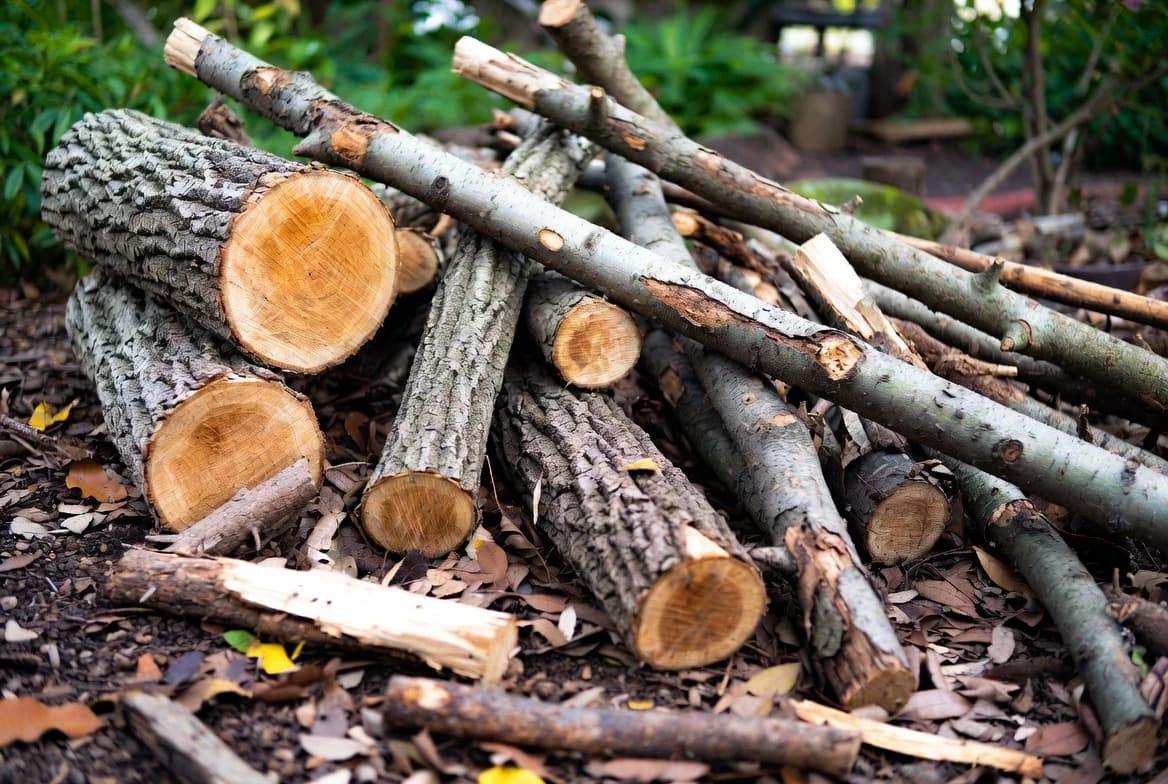
Logs, sticks and bark ready to build a habitat pile
03

Layer in sticks, bark and leaf litter

Add smaller branches, twigs, bark and handfuls of dry leaves between the larger pieces. This creates pockets with different moisture levels and helps the pile shelter everything from insects to frogs and overwintering pollinators.
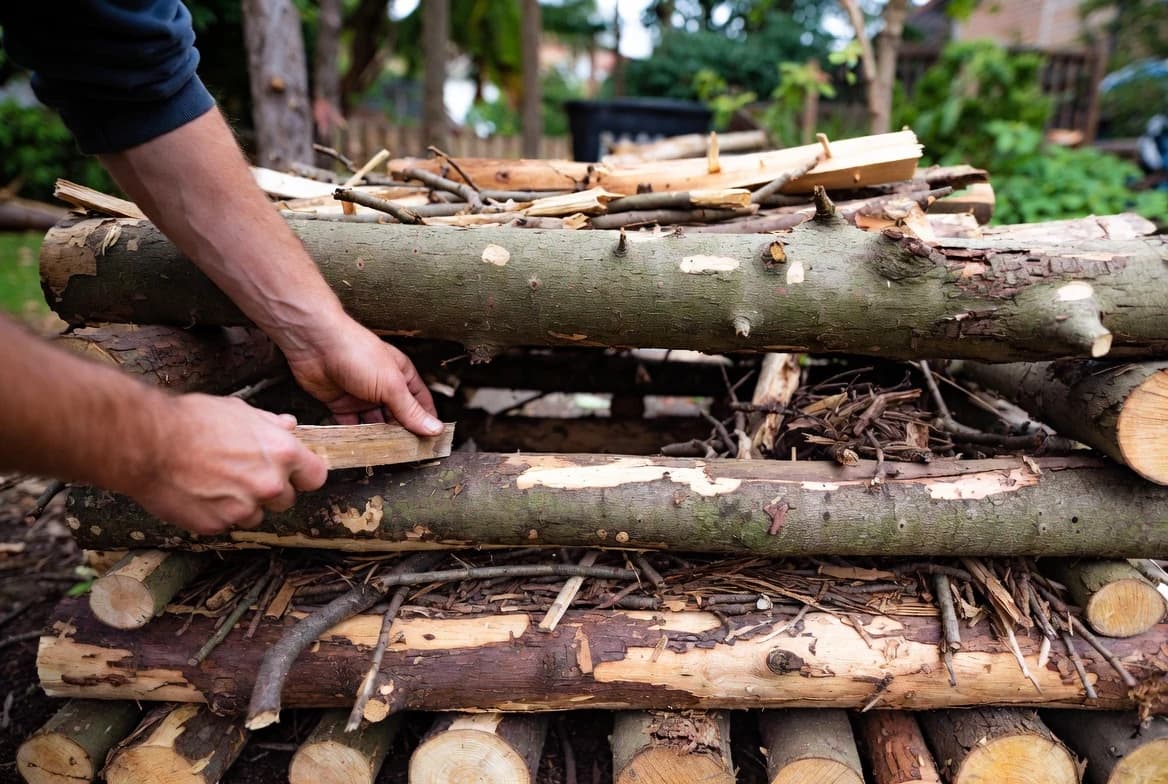
Layering branches and leaves into a wildlife habitat structure
04

Cap it with leaves and leave it undisturbed

Top the structure with extra leaves or loose brushwood to hold shade and slow the drying wind. Once built, disturb it as little as possible and resist the urge to tidy because the most useful piles gradually settle and soften over time.
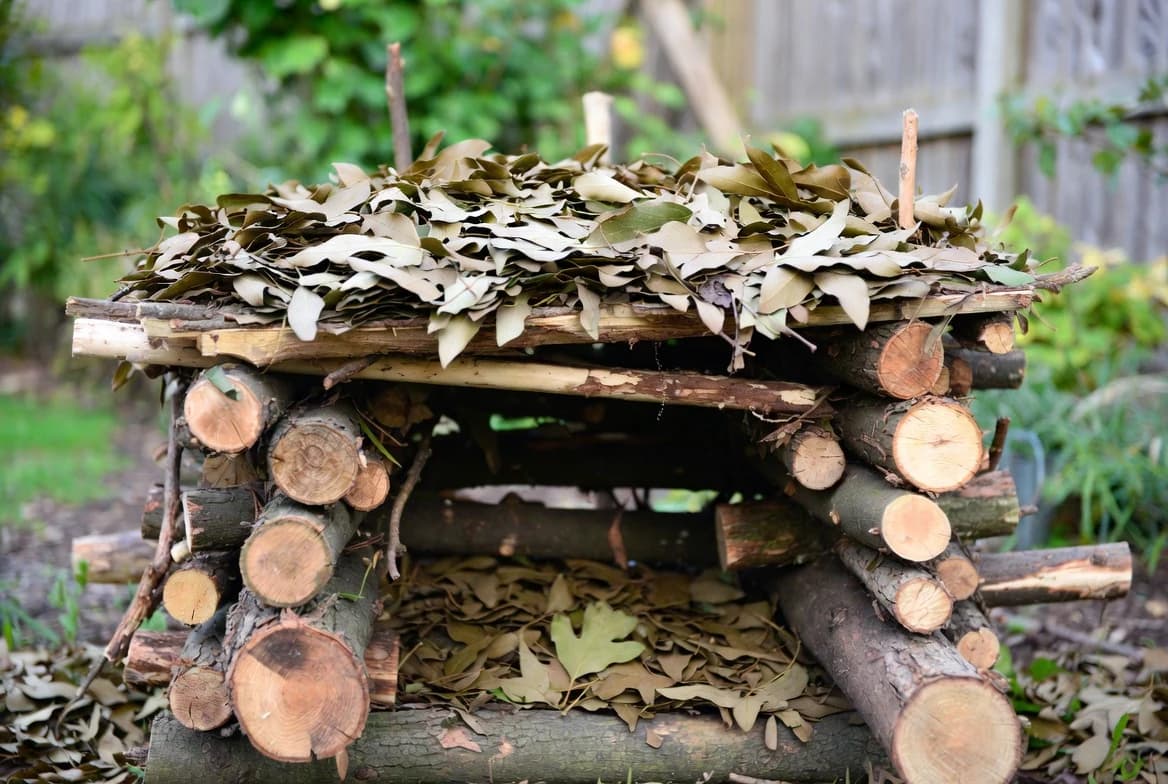
A finished log and leaf habitat settled into a garden border
Useful plants

Easy UK choices that earn their keep.

These are practical starting points, not a complete shopping list. Match plants to your light, soil and the space you actually have.

01

Ferns and ivy nearby

Hold shade and humidity around the pile.

02

Low ground cover

Creates a safer approach route for amphibians and invertebrates.

03

Shrubs or a fence line

Shelters the habitat from drying wind.

Common questions

Before you begin.

Will it attract pests?

It will attract invertebrates, which is the point. Place it away from house walls if you are worried about damp, and keep a clear path edge so the pile does not look abandoned.

Can I use a bag of decorative bark instead?

A mulch layer helps soil, but a habitat pile needs mixed sizes of wood and leaf litter with gaps. Fine bark alone is not a substitute.

Next best step

Connect it to water or leaves

Extend shelter across the garden with a leaf-litter corner or damp route toward any water you add later.

Continue
Keep it wild. Keep it safe.

Let wildlife arrive in its own time.

Use responsibly sourced plants and materials, avoid moving animals from the wild, and always build in safe access and escape routes. The best habitat is one that can settle, change and become part of the wider garden.

Written and reviewed by

Natasha Card

BSc Environmental Science

Mini Wild Garden turns wildlife science and trusted UK conservation guidance into practical changes that work in ordinary gardens, balconies and small outdoor spaces.

Read the Mini Wild Garden approach
Was this guide helpful?